
(x-post from the original project, the hardware build has not changed) In this post I’ll document the steps of putting the hardware together for a cluster node. A story in pictures:
 I’ve unscrewed and removed the cover of the Antec case. As you can see, there’s not much room to move around. On the right side the 200W powersupply, unfortunately it’s not modular and we’re not going to use all those cables.
 The bracket covering the width is the removable drive cage and provides structural support for the case. You can also see the Tri-Cool fan up top (Tri-Cool for the three speed RPM setting).

The Intel mainboards come with a sticker outlining every connector and function of the board. Good idea to tape this to the inside of the cover for quick reference.
The next step is to assemble the CPU, Cooler and mainboard together. It’s a fairly simple process. Make sure to ground yourself cause this stuff doesn’t appreciate static sparks flying around 😉
The standard CPU cooler is going to be one of the largest components on board. As you can see on the second picture, the paste is already on the heatsink out-of-the-factory.


Open the CPU bracket on the board according to the accompanying instructions and remove the protective plastic cover. Align the cpu (watch the notches) and close the bracket.


Next is to place the CPU cooler in the correct position. Each corner connector “clicks” into its hole on the board, just make sure it is not in the “open” position otherwise it doesn’t remain fixed. Align the cooler so that the power connector is near it’s socket on the board (on the second picture, top side).


 Now press each corner connector firmly into the board. This requires a bit of a push, and you may think it’ll break the board however it is not firmly seated if you do not hear a “click”.
You also see the white power connector fastened.
 Next is to insert the memory into the slots. I’ve chosen Kinston Valueram in their 8Gb kit, which at this time is the largest non-ecc memory you can put into each node. Kingston will release a 16Gb kit this year.
Is it me or do these DIMMS shrink more and more every new release?!
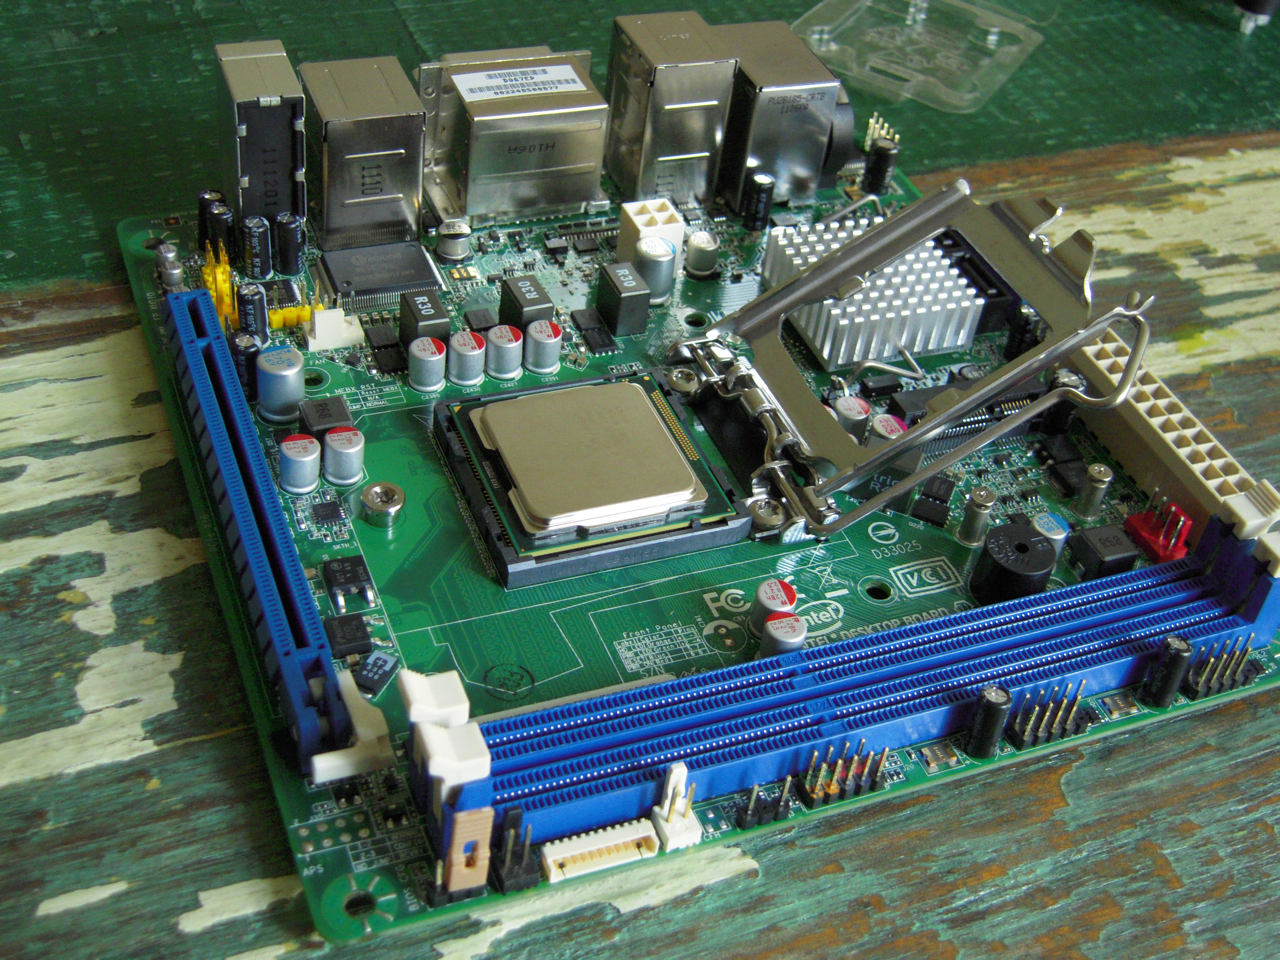
 Allright, the board has all it’s components now and should look like this. Now it’s time to marry it to the case 🙂
Insert the connector-bracket into the backwall of the case and place the board (carefully!) in the case, aligned on the screw holes. Attach the mainboard powerconnector and the CPU power connector. Attach the powerbutton/reset/powerled wires. Don’t worry we’ll tidy up this wire mess in a sec.


Attach the power connector of the Tri-Cool fan and use the tie-wraps to neatly bind everything together. As this is a cluster node I do not attach the audio cables to the board. I’ll disable unused services such as onboard audio in the BIOS anyway.


Place the bracket back into it’s place. Make sure that the small wires above the power suppy do not get stuck between the bracket and it’s mount!
The unused wires are tucked neatly in the bottom right corner.


Now that everyting is neatly in-place, It’s time to add the dual-nic to the node. First you need to replace the bracket with the supplied half-height bracket.

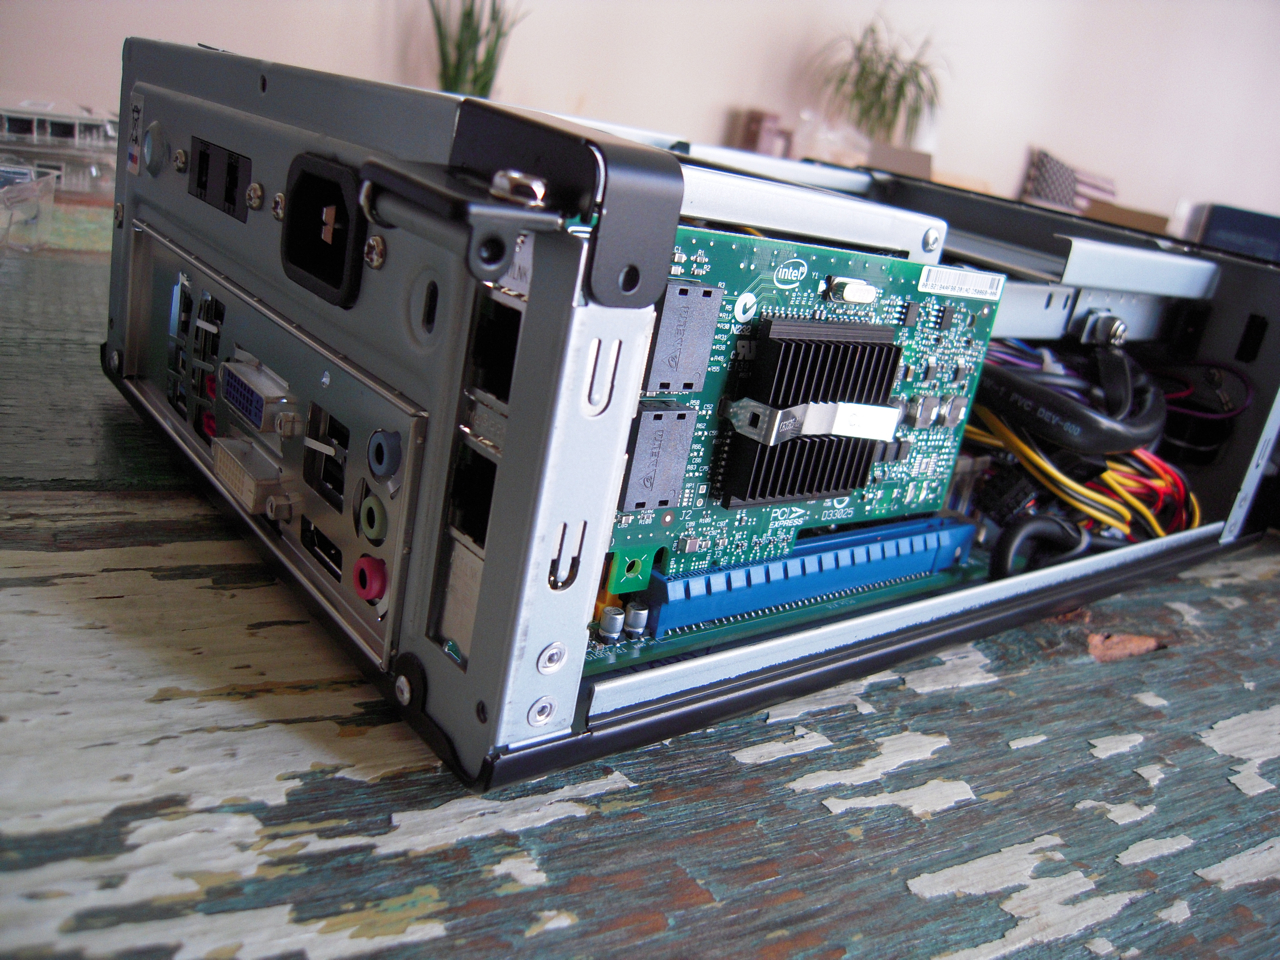

All the connectors. The black switch on the left of the power connector is used to set the speed of the Tri-Cool fan. I’ve set it to low. This keeps the noise down and supplies just enough airflow through the case for this setup.
Before we close the case, it’s time to connect the power and see if everything comes alive, the fans spin freely and no sparks are flying 🙂 Ahh, such a pretty sight… green light, good airflow and really really quiet!


This is what a complete node looks like, hooray!
